What are the acceptable error ranges of repeatability?
2023-07-13WIKI
According to ISO 13320: 2020, six consecutive measurements should be carried out to satisfy the repeatability test. The average values of D10, D50, and D90 should be calculated, and the acceptable error ranges are:
♦ D10
Each measured value of D10 should not be deviated from the average value by more than ±2%.
♦ D50
Each measured value of D50 should not be deviated from the average value by more than ±1.5%.
♦ D90
Each measured value of D90 should not be deviated from the average value by more than ±3%.
Recommended articles
Related Particle Size Analyzer
-
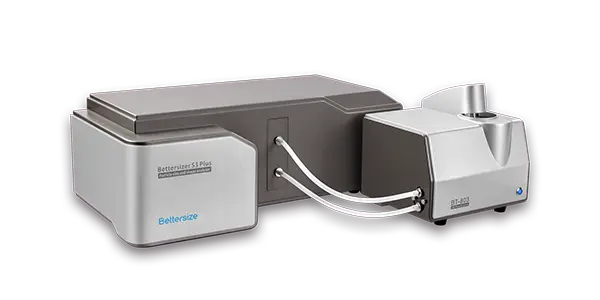
Bettersizer S3 Plus
Laser Diffraction Particle Size Analyzer
Measurement range: 0.01 - 3,500μm (Laser System)
Measurement range: 2 - 3,500μm (Image System)
-
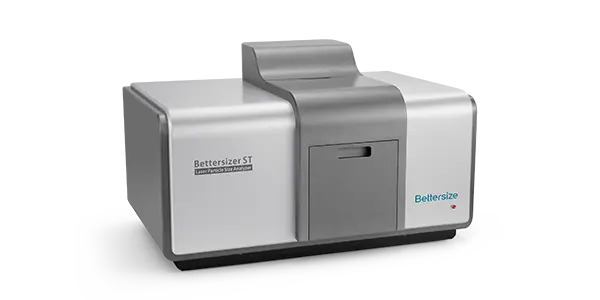
Bettersizer ST
One-stop Particle Size Analyzer
Dispersion type: Wet
Measurement range: 0.1 - 1,000µm
Repeatability: ≤1% variation
-
Bettersizer 2600
Particle Size Analyzer
Measurement range: 0.02 - 2,600μm (Wet dispersion)
Measurement range: 0.1 - 2,600μm (Dry dispersion)


